How to Start a Substack: Setup Guide From a Top 20 Bestseller

I’ve set up Substacks from scratch for my consulting clients, and I’ve built two of my own: Make Writing Your Job (a Top 20 Business bestseller with 42,000+ subscribers) and Sutoscience, where I publish growth experiments and serialized fiction. So here’s my complete guide on how to start a Substack: every setting that actually matters on day one, the traps I’ve watched new writers fall into, and the ones I fell into myself. For the ground-floor version, read what is Substack and how does it work first.
Prefer to watch me click through it live? The full video walkthrough is on YouTube. Otherwise, let’s dive in.
The short version: create your account, put your real name and face on your profile, choose yourname.substack.com as your URL (changing the subdomain later breaks links, though moving to a custom domain doesn’t), pick your primary category deliberately, connect Stripe and turn on paid subscriptions from day one. Then publish before everything is perfect. If you want models to study, start with the most popular Substacks.
1. Set Up Your Profile With a Real Name and a Real Face
Unless you’re deliberately anonymous, use your actual name and a photo of your actual face. Readers subscribe to people. Add a short bio about what your Substack will be, and link your social handles if you like. But remember the direction of travel: your Instagram followers should be coming to your Substack, not the other way around. The inbox is home base. Everything else is a signpost.
2. Choose Your URL Carefully (Then Leave It Alone)
When Substack asks for your URL, use yourname.substack.com. Not a clever brand name you might outgrow. Your name. Changing your Substack subdomain later breaks every link pointing at you from Google, social media, and other people’s posts. You get one relatively painless change, and after that it’s carnage.
Down the road, once you’re locked in (I’d say around the one-year mark), move to a custom domain. It preserves your links, and it hides the substack.com address from social platforms, which matters, because some of them throttle Substack links. Substack is eating their lunch, and they know it.
3. Pick Your Categories Like They’re Real Estate
Your primary category decides which bestseller list you can rank on and which publications the algorithm recommends you next to. Your secondary category never ranks anywhere (it’s just extra context). So before you choose, go study Substack’s bestseller lists in the categories you’re considering: the purple badges mean tens of thousands of paid subscribers, filled orange means thousands, outlined means hundreds. What people pay for shows you what they value.
This is also a lever you can pull later. I switched Sutoscience’s primary category to Fiction when I started serializing a novel, and discovered mid-tutorial, on camera, that I’d hit the category’s bestseller list. Right category, right pond. (My guide to growing a Substack goes deeper on discovery.)
4. Connect Stripe and Turn On Paid Subscriptions on Day One
This is my single biggest piece of setup advice, and almost everyone skips it: enable paid subscriptions immediately, even if you have nothing behind the paywall yet. Substack only makes money when you do, so publications that can take payment get pushed harder by the discovery machine than publications that can’t.
Connect Stripe, set a price, move on. You can figure out your paid offering later. My post on starting a paid newsletter covers exactly that, and here’s what Substack takes when the money arrives.
5. Learn the Editor — Especially the Buttons
The editor is where you’ll live, and buttons are its most underrated feature. I add calls to action to every post: a subscribe button, a share button, and a custom button pointing to my /subscribe page (I put emojis at the front of mine, because I’m an emoji queen and I stand by it). You’d be surprised how many readers land on a post without being subscribed. Give them somewhere to click.
Three hard-won warnings from years in this editor:
The subscribe-with-caption widget is buggy. Don’t place it until you know exactly where you want it, because deleting it is the most annoying thing on the planet.
Check the schedule button’s label before you hit it. It should say “Send to everyone in two days,” not “Send to everyone now.” I once sent a post immediately instead of scheduling it because a paid-post toggle changed what that button did. Once was enough.
Skip the dividers. AI-generated slop leans on section dividers constantly, and readers have noticed. I use AI tools openly in my business, but I don’t want my writing pattern-matched to the slop bucket, and neither do you.
6. The Settings Worth Doing Now (Save the Rest)
Publication name and short description. The name shows up everywhere and is separate from your URL. Write the short description carefully, then paste it into the buried “introduction” field too (Substack asks for both and hides one).
Email sender name = your name + publication name, so nobody deletes you as a stranger.
Keep email headers skinny. A chunky header buries your writing below the fold and hurts open-to-read rates. Put the good stuff (bio, photo, subscribe button) in the footer instead.
Leave “require email confirmation” off. It’s one extra step between a reader and your list.
Think hard about the AI-training privacy toggle. Opting out can also remove you from AI search results. I keep training on, because I get real traffic from ChatGPT, Perplexity, and Gemini. I’d rather be found than precious. Your call.
Export your data every few months. Subscriber list, posts, everything. Your list is the business, so keep a copy that lives with you.
What to Skip at First
Subscriber chat (an empty chat room is discouraging, so wait until you have a community to fill it), Substack’s surveys, and the recording studio. And one grave warning from the archives: if you ever create a podcast on Substack, be very careful about deleting it. I know a Substacker whose entire publication vanished with her deleted podcast. Support restored most of it, but “most” is a terrifying word. Export first, always.
Then Stop Optimizing and Start Writing
Substack has a thousand nooks to fiddle with, and none of them matter as much as publishing. Your readers will show you where the publication needs to go, but only if there are posts for them to react to. Get the five settings above right, hit publish on something imperfect, and fix the rest as you grow. That’s not settling. That’s the strategy.
Read My Two Substacks
I’d be a strange guide to Substack if I hid my own publications, so here they are. Both have a free tier.
Make Writing Your Job: my Top 25 Business bestseller, with 60,000+ subscribers, about writing jobs and the business of writing.
Sutoscience: my personal Substack, with growth experiments (real dashboards included), essays, and serialized fiction.
FAQ: Starting a Substack
How Much Does It Cost to Start a Substack?
Nothing. Publishing, hosting, and email are free at any list size. Substack takes 10% only when you turn on paid subscriptions and start earning — full fee math here.
Should You Enable Paid Subscriptions Before You Have Paid Content?
Yes. Connecting Stripe on day one tells Substack you’re a publication worth promoting, and pledges start collecting even before you offer anything paid.
Can You Change Your Substack Name or URL Later?
The publication name changes freely. The URL is the dangerous one: changing it breaks inbound links, so pick yourname.substack.com and upgrade to a custom domain once you’re committed.
How Long Does Setup Take?
An afternoon for everything in this guide, including Stripe. The writing takes the rest of your life, in the best way.
Want a Second Pair of Eyes on Your Setup?

Setting up Substacks (and fixing mis-set-up ones) is literally part of my Substack consulting — I’ve done this walkthrough with clients enough times to know exactly which settings cost you subscribers. Tell me about your publication below.
You can also watch the full setup tutorial on YouTube, and browse every guide in my Substack resource hub. Now go set the thing up — your first post is waiting. I’m rooting for you.
Hello! 👋 I’m Amy Suto. I’m a bestselling author, San Francisco content creator, and co-creator of the job board 🛋️ CozyJobs. Join CozyJobs to browse thousands of jobs and get daily matches to your inbox — writing and creative roles front and center!
GET ON THE LIST
Find your next writing job on 🛋️ COZYJOBS — thousands of jobs on a board updated daily, writing and creative roles front and center. ✨ The application tracker is free (basic CozyApply autofill is too), and paid plans start at $25/month with daily job matches straight to your inbox. Real writers are landing real work—don’t miss out.
FOLLOW ME ON GOOGLE
Add me as a preferred source and Google shows you more of my posts in Top Stories.
MY NEW BOOK: WRITE FOR MONEY & POWER
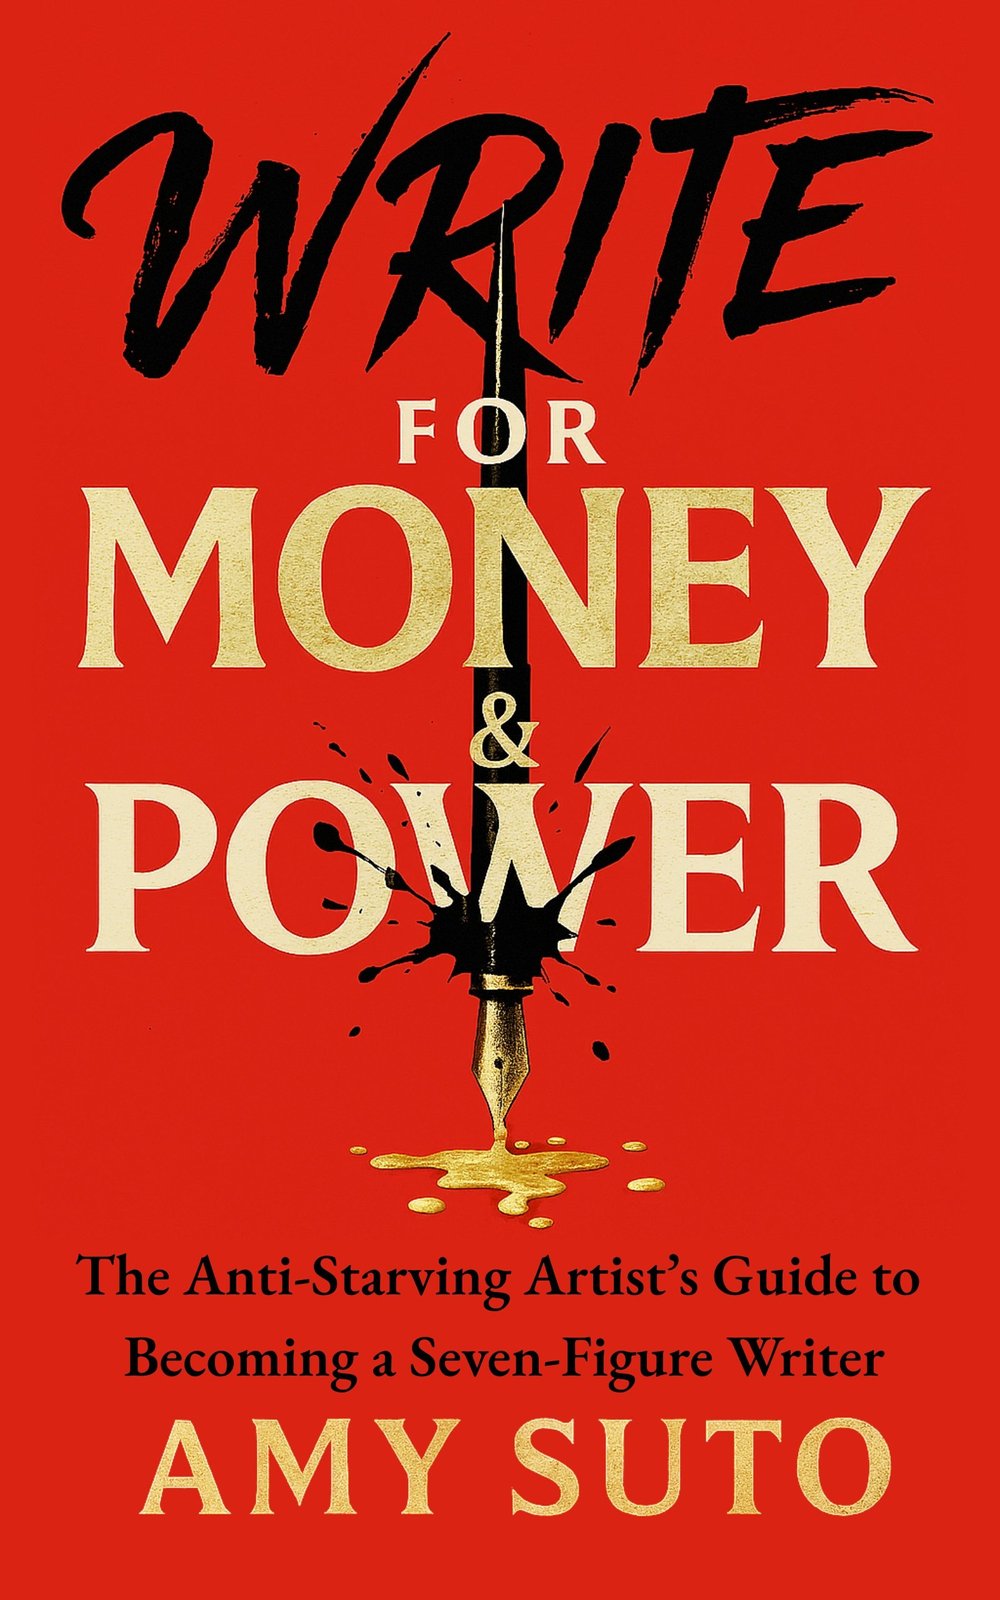
The anti-starving-artist's guide to becoming a seven-figure writer.
MY NEW NOVEL: LET ME BE YOUR GHOST
My romantic thriller arrives November 2026 — a ghostwriter with secrets, a billionaire CEO with more. Preorder one book, get two. Claim your bonus here →
MY ROMANTASY NOVEL: THE ASH TRIALS
The deadliest game is remembering who you are.
MY DETECTIVE NOVEL: THE NOMAD DETECTIVE
Crime crosses borders, but so does this detective.
MY HOW-TO BOOK: SIX-FIGURE FREELANCE WRITER
Work smarter, not harder — without the burnout.
RECENT POSTS
JOIN THE WRITING JOB BOARD
FOLLOW ME ON IG @SUTOSCIENCE